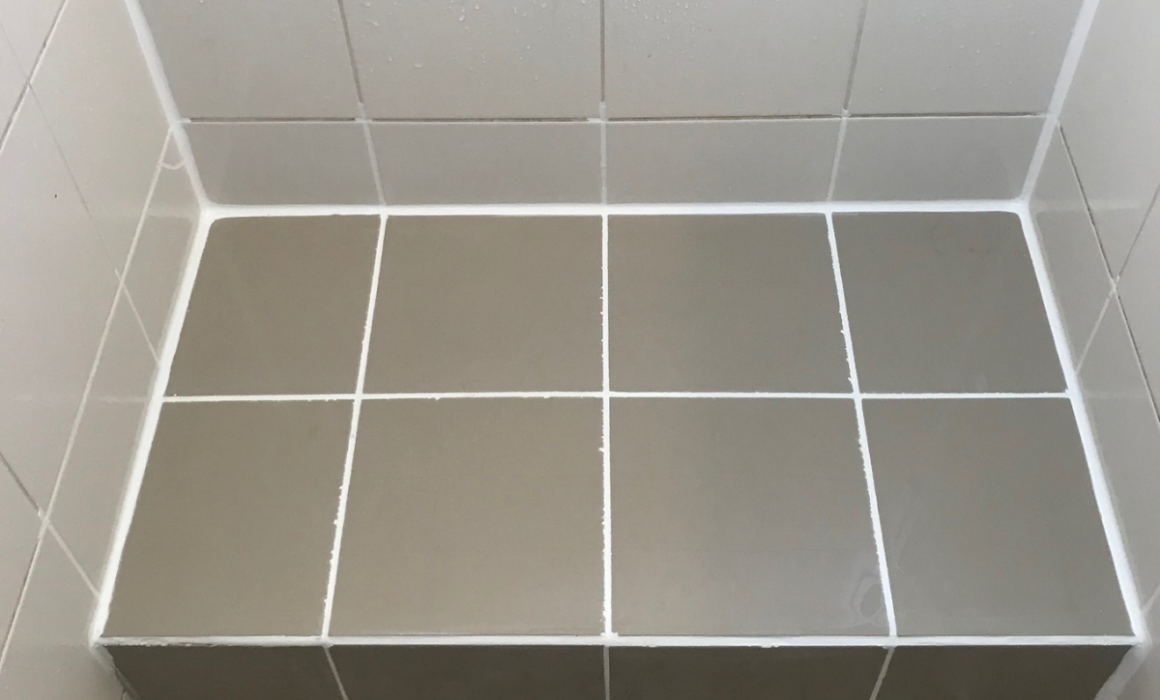
Shower resealing: what does resealing a shower really mean?
For most people, the idea of redoing their shower is something that only surfaces once there is visible damage. Mould accumulates, water seeps and a musty smell sinks in. There could even be shower leaks and dripping(yikes!). You can see that something probably, (read: “definitely”), needs fixing. So, what’s next? A bit of new grouting should do the trick, right?
Yes, for very minor repairs, this might solve the problem. But in most cases, just adding new grout doesn’t do it. Unfortunately, in the vast majority of situations, the problem with water leakage is much bigger than meets the eye. In fact, a lot of damage can be unseen. And it’s serious. Homes To Love.com.au lists bathroom leaks as one of the top 5 common types of water damage in Australian homes today.
So, what’s involved? Resealing your shower properly takes multiple steps. At Leaky Showers, we ensure your shower is fixed to code and beautifully done. We do this by adhering to strict standards and steps with fully trained professional staff.
1. Surface Prep
Our first goal in resealing your shower is to properly prepare the area for shower repairs. The surface of the shower walls, shower tiles and shower recess needs to be clean. This is important in order to create a good seal. We clean by removing any dust or particles. Sometimes a compatible solvent like methylated spirits will be used to clear away any oils or dirt present if needed. Clean, soft cloths are always used for optimal results.
2. Applying Primer
Next, we apply a primer. Some sealants don’t require a primer, but we do it anyway. Priming is a bit like adding an extra layer of insurance to your project. It improves adhesion and doesn’t cost you much but it could save you some trouble in the future. Depending on the surface, our primer is applied with a clean brush like you would apply paint. Sometimes we might use a lint-free cloth over the entire area or a roller.
3. Affixing Bond Breaker Tape
Next, bond breaker tape is applied to the corners. Tape up! This creates a full seal ensuring water won’t escape. Bond breaker tape has a sticky backing. We pre-measure and cut our tape and then apply it for the best fit. Next, the tape is sealed to the floor and walls of your shower using liquid sealant (see below).
4. Applying Liquid Sealant
This is where the liquid gold comes in! Liquid sealant is a product that creates a thin rubber-like membrane over the area being sealed. Typically black or blue (and sometimes green), sealant comes in a variety of materials. Applying liquid sealant is like giving your shower a permanent brolly. We apply a minimum of two coats (always), and spray the substance on or, again, apply it with a trowel or roller.
5. Adding Puddle Flanges
Finally, before any tiling is done a puddle flange is inserted into the drain. What does this do? This helps to guarantee you a watertight seal between the pipes and your shower. Without a puddle flange you could have problems. Not having a puddle flange can result in water seeping into your concrete walls or floors. This can cause serious structural damage.
6. The Legal Side of Resealing Your Shower
Yes, there is a legal side to a leaky shower, strange but true. Getting the details right not only saves you time and money but it’s required by law. In Australia, proper waterproofing has legal standards. This is because if water is leaking from your shower it can weaken the walls. It can also cause building movement and damage the floors and ceilings in your home.
Let us do the shower sealing work for you. We use the best products and materials available in Australia, for the best price and can usually carry out leaking shower repairs without tile removal. Contact Leaky Showers now to book a free pressure and moisture test. Get an obligation-free quote within 72 hours, and find out how we can help.