What You Need To Know About Sealing a Shower
Are you looking online for helpful information about sealing a shower? A leaky shower is a problem no-one wants. It can lead not only to property damage and decay but also to personal injuries. Plus, who wants water stains appearing on their dining room ceiling from an upstairs bathroom? Nor do you want your home to become victim to a slow leaking drip in your walls that goes undetected for years. The damage of rot and mould will surface someday, and by that point, it likely spells trouble.
So, if your bathroom is not one of your top priorities when tackling your home renovations, perhaps it should come first! Having your shower sealing and shower repair done efficiently and effectively is so important.
Not everyone has the knowledge, determination, and patience needed for sealing a shower which is why they call us here at Leaky Showers. When it comes to our work shower sealing in Brisbane and surrounding areas, there’s some equipment and products we just can’t do without!
In order to properly seal your shower we will use:
• Safety gloves
• Stanley knife
• A cloth (or two)
• Mineral turpentine
• Masking Tape
• Cutting pliers
• High-quality polyurethane or silicone-based shower sealant
• Silicon gun
• Detergent
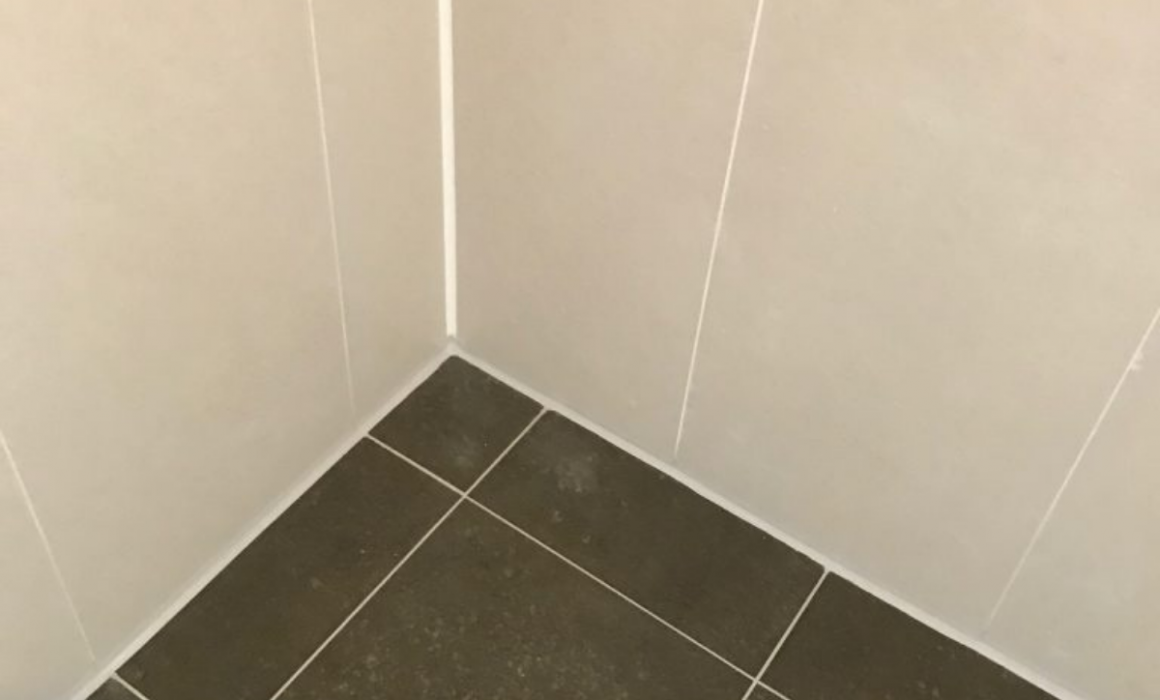
So, when it comes to sealing a shower, where do we start? If your shower has a leak it’s probably in the corner where the walls meet, or where the shower meets the floor. These are the most common areas where water damage takes place.
Here are some basic steps that we follow when sealing a shower:
1. Remove dirt and water from the shower surface
In order to have shower sealant adhere properly and make a good seal, your surfaces need to prepared. This means they need to be clean and dry. We will run a damp cloth over the area to be sealed, to remove any dust or dirt present. We then follow this with a dry cloth or paper towel to remove any moisture.
2. Remove the old silicon sealant
Next, we will scrape away the existing old silicone sealant with a sharp knife. We then wipe the area with mineral turpentine to clean away any remaining tiny debris.
3. Tape either side of the gap
In order to get a clean line, often we tape off the area to be sealed. This is done on either side of the crack. It’s akin to taping when you’re painting a room. In general, this helps make the cleanup a little easier on your tiled surface.
4. Cut the silicon cartridge
Onto the good stuff! Using cutting pliers, we will cut the silicone cartridge which we do at a 45-degree angle. This approach is important as it allows us to apply the best seal.
5. Apply the silicone to the shower
Next, we will load the cartridge into a silicon gun and carefully apply the silicone to the shower gap.
6. Smooth the excess silicone
After we have applied the silicon, we go through the process of smoothing the sealant. Wipe away any excess silicone with a cloth dipped in detergent (or you can use your finger for a smooth finish!).
7. Remove the tape from tiles
Before your sealant dries, we will remove the protective tape (if we’ve used it).
Your newly sealed shower should be waterproof in about two hours and fully cured and set within two days.
Australian Building Codes and Standards for sealing a shower
Performing your own fix can be fulfilling, however it’s important to know the rules around shower waterproofing. In Australia, there are regulations and building code standards when it comes to waterproofing any part of your home. In some Australian states and territories, the person waterproofing your home needs to have a current waterproofer’s licence. It really is serious business!
In addition, Australian Standards state any showers constructed after January 1998 needs to have a flexible material in corners where the walls meet, and where shower wall and floor join up. If it doesn’t meet properly, you’re likely to encounter some real water damage problems.
Having your shower sealing done by a licensed contractor guarantees it will be done right. At Leaky Showers, we have over 20 years of experience repairing showers in Queensland.
Not only will your shower be protected and compliant, it will be easier to clean and look great!
Contact us now for a free pressure and moisture test along with a quote. All quotes are arranged within 72 hours so call today!